Let’s be honest—when someone says “automation,” most of us picture coding wizards in hoodies tapping away at dark screens. But here’s the truth: if you’ve ever created a design in Canva, you already have the skills to start automating your business.
Why? Because modern automation tools are just as visual, intuitive, and drag-and-drop as Canva. No confusing code, no complicated interfaces. Just simple, smart workflows that save you hours every week.
So grab your coffee, and let’s turn that Canva confidence into automation power.
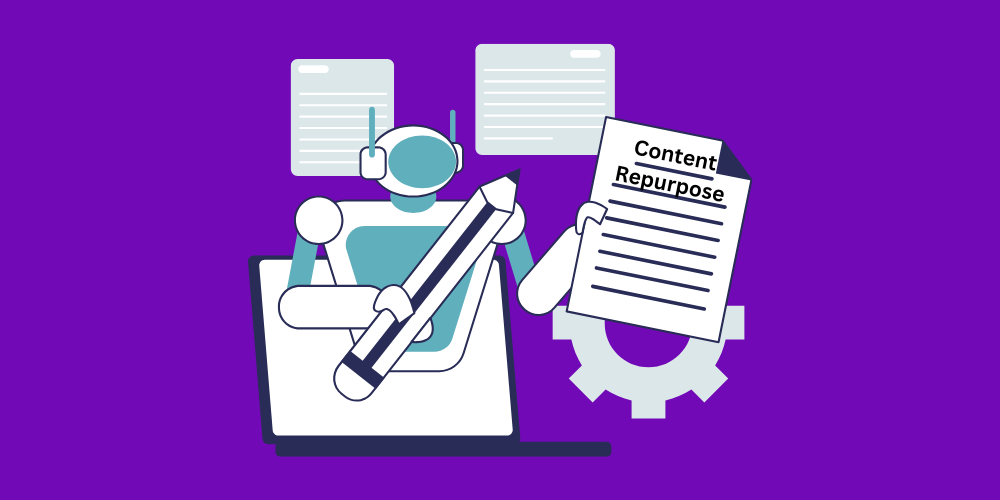
🧠 First Things First: What Is Business Automation?
Business automation is the process of using software to perform repetitive tasks—like sending emails, managing leads, or updating spreadsheets—without you having to do them manually.
Think:
- New client fills out a form → they automatically receive a welcome email.
- Someone books a call → the calendar is updated, and a reminder is sent.
- A customer buys a product → they get added to your CRM and tagged for follow-up.
And the best part? You don’t need a tech team to set this up anymore.
🎨 If You Can Drag-and-Drop in Canva, You Can Do This
You know that feeling when you open up Canva, choose a template, drag some elements around, change the text, and boom—you’ve made a flyer? Setting up a basic automation feels exactly like that.
In tools like Zapier, Make (formerly Integromat), or Pabbly, workflows are built using blocks or steps. Each block is a visual component: “when this happens,” “do this.” You just pick the steps you want, drag them into place, and fill in a few details. No coding. No tech headaches.
Here’s how it compares:
| Canva Action | Automation Equivalent |
|---|---|
| Choose a template | Choose a workflow (called a “Zap”) |
| Add a text box | Add a step (like “send email”) |
| Drag image into place | Drag app connection into workflow |
| Click Publish | Click Turn On |
The UI is visual, clean, and built to be beginner-friendly. If you’ve ever built something creative in Canva, your brain already understands how automation flows work. You’re simply swapping fonts and colors for apps and triggers.
So no need to second-guess yourself—you’re more ready for automation than you think.
🛠️ Simple Automations You Can Set Up Today
Here are some beginner-friendly automations that take less than an hour to set up—and can save you hours every week.
1. Send a Welcome Email to New Leads
What it does: Someone fills out your contact form → they automatically get a personalized welcome email.
Tools needed: Tally + Mailerlite + Zapier
How it works:
- Create a simple contact form using Tally
- Set up a workflow in Zapier so that when someone submits the form, their info goes to Mailerlite
- Mailerlite sends out a pre-written welcome email
2. Get Notified When Someone Books a Call
What it does: You get an instant email or Slack message every time someone books a call on your calendar.
Tools needed: Calendly + Gmail or Slack + Zapier
How it works:
- Connect Calendly to Zapier
- Set the trigger as “New Event Scheduled”
- Set the action as “Send Gmail Email” or “Send Slack Message” with booking details
3. Auto-Post New Content to Social Media
What it does: When you publish a new blog post or YouTube video, it automatically gets shared on your social channels.
Tools needed: WordPress or YouTube + Buffer or Zapier
How it works:
- Use Zapier to watch for new blog posts on your site
- Every time one goes live, it creates and sends a post to your selected platforms (Facebook, Twitter, LinkedIn, etc.)
4. Organize Customer Info in a Neat Spreadsheet
What it does: Automatically adds new client info from a form to a spreadsheet, so you don’t have to copy and paste.
Tools needed: Tally + Google Sheets + Zapier
How it works:
- Connect your Tally form to Google Sheets using Zapier
- Each new submission becomes a new row with all the form answers neatly recorded
5. Send Yourself a Weekly Report
What it does: Summarizes your form responses or sales data and sends it to your inbox every week.
Tools needed: Google Sheets + Gmail + Zapier
How it works:
- Use Zapier to fetch your latest spreadsheet entries on a schedule
- Send a summary email to yourself every Friday with the latest data
🧱 How to Build Your First Automation (Step-by-Step)
Let’s break down a real example using Zapier—one of the most popular no-code automation tools.
🛠️ Scenario: Automatically Email a Lead When They Submit a Form
Step-by-step setup:
Tools Needed:
- Tally – to create your form
- Mailerlite – to send the email
- Zapier – to connect them
1. Create a Form in Tally
- Go to tally.so and sign in
- Click “Create new form” and design your form (name, email, interests, etc.)
- Publish the form and copy the link
2. Connect the Form to Zapier
- Go to zapier.com
- Click “Create Zap”
- Trigger: Choose Tally as the app, and “New Submission” as the event
- Connect your Tally account and choose your form
3. Set the Action with Mailerlite
- Action: Choose Mailerlite as the app, and “Send Email” or “Add Subscriber” as the event
- Connect your Mailerlite account
- Map the data (like name and email) from the Tally form to the email content
Click “Test & Continue” and you’re done!
Now every time someone fills out your form, they automatically receive a personalized email—no manual steps required.
Bonus Example: Auto-Share Blog Posts to Social Media
You can also:
- Set a WordPress blog post as the trigger
- Add an action to post the link and image on Facebook, Twitter, LinkedIn
It’s like designing one visual in Canva and publishing it everywhere, but with content.
These workflows are easy to set up, visually guided, and designed for non-tech users. Think of Zapier like the Canva of automation: pick a template, plug in your parts, and go live.
💡 Pro Tips for Canva-Style Automators
- Use templates: Just like Canva offers design templates, many automation tools have workflow templates.
- Keep it visual: Choose tools with visual builders—you’ll feel right at home.
- Don’t automate everything at once. Start with 1–2 key workflows.
🚀 Final Thoughts: You’ve Got This
Automation isn’t just for tech nerds anymore. If you’ve ever designed a flyer, scheduled a post, or created an Insta story on Canva, you already have the intuition needed to start automating your business.
So instead of spending hours doing the same thing over and over, let automation do the heavy lifting.
Because the truth is, you’re not just a business owner—you’re a creative problem-solver. And now, you’ve got a new set of tools to work with.
Go ahead. Build your first automation. Make it messy. Fix it. Make it better.
Just like your first Canva design—only now, it’s your time that gets a makeover.